Are you looking to build a life coach website? WordPress is a terrific platform to do so thanks to its impressive customization options and library of plugins. There is no better plugin for creating such a website than GS Coaches.
This plugin specializes in creating unique displays to show off coaches on your website. With it, you can show off an image of the coach, their name, title, specialty, and much more. As such, it is an essential tool for any life coach website.
Today, I will demonstrate how to use GS Coaches to improve the visitor experience.
What Is a Life Coach Website?
Before we can answer this, let’s go over what a life coach is.
A life coach is an individual who provides consultation for clients to achieve life goals. This can be in regard to physical health, careers, relationships, or any other major aspect of life. Essentially, they give you advice to live a better life.
With that said, a website for a life coach is generally a platform that introduces potential clients to those experts and professionals. It should show off how great the life coach is in specific fields, display clients they helped meet their goals, and allow users to sign up.
In some cases, an entire website will be dedicated to a single life coach, while in others, it could be a full team of them.
Thus, you are going to need a tool that can help you show off multiple coaches.
How to Use GS Coaches
Step 1: Install GS Coaches
GS Coaches is a very simple plugin that exists for one purpose, showing off coaches of any kind on a website. It has several customization options to choose from that help make it a great fit.
In terms of usability, it is quite easy to use as it makes full use of shortcodes. You can place your coach display anywhere you can place a shortcode. This includes posts, pages, sidebars, footers, and more.
This tutorial will cover the free version of the plugin but be aware that the Pro version offers 29 additional themes and templates to give you greater customization.
Let’s start by installing the plugin.
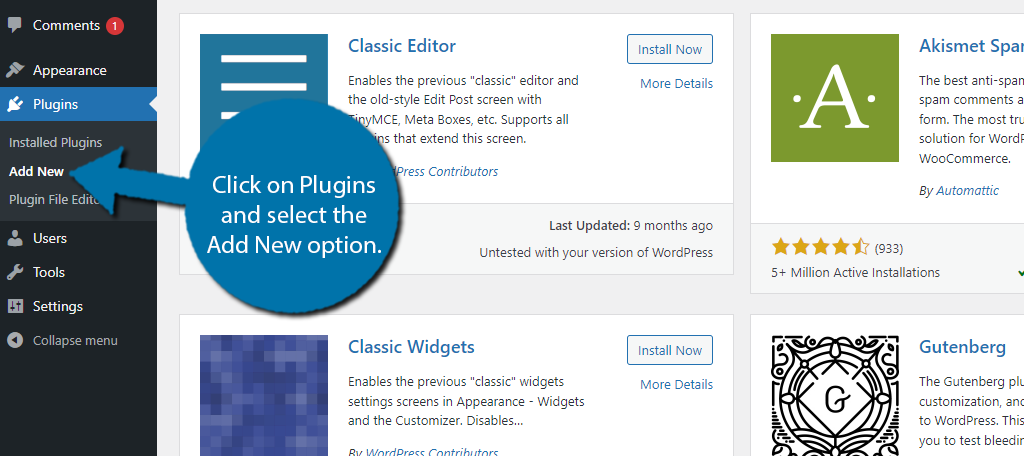
Click on Plugins and select the Add New option on the left-hand admin panel.
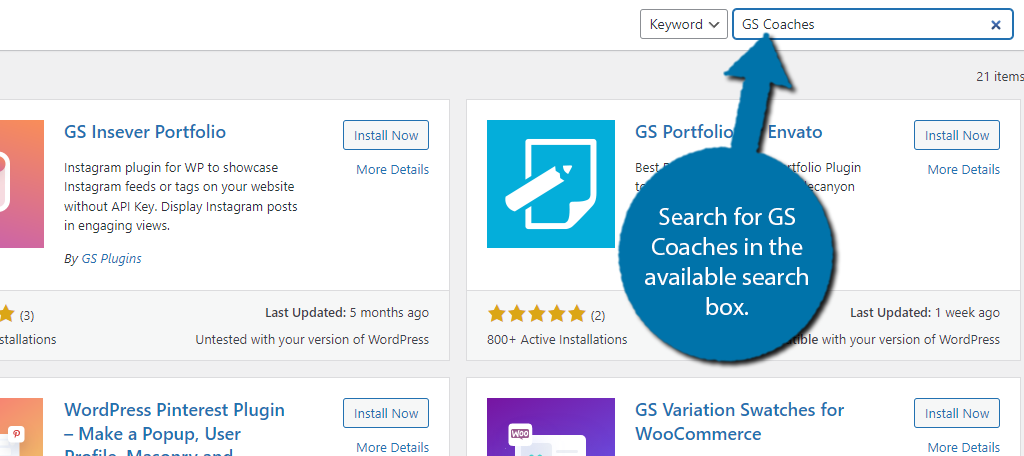
Search for GS Coaches in the available search box. This will pull up additional plugins that you may find helpful.
Find the GS Coaches plugin, and click on the “Install Now” button to activate the plugin for use.
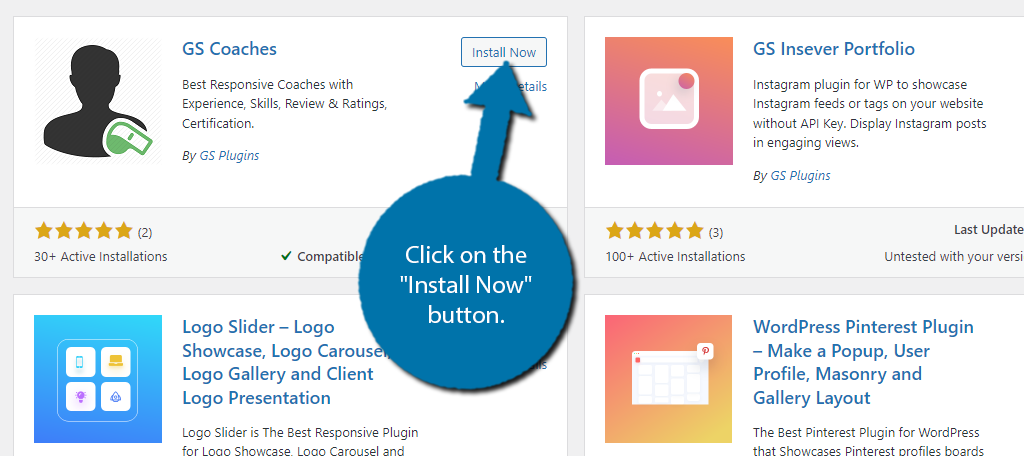
Note: You might notice that there are several other plugins that share the GS moniker. They are all made by GS Plugins and work well together, so consider using some of the other plugins to improve your website if you like this one.
Step 2: Coaches Settings
You can either begin adding your coach information immediately or configure the settings for coaches. I am choosing the latter, but this can be done in any order.
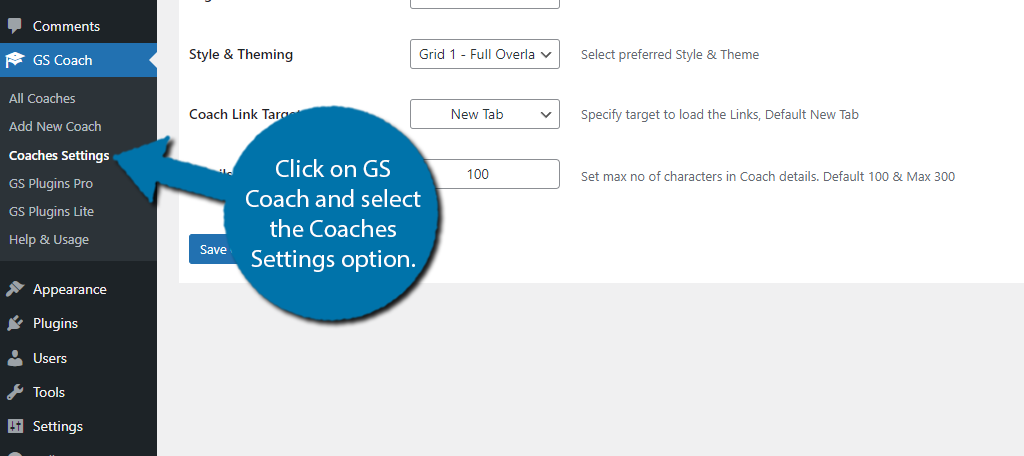
On the left-hand admin panel, click on GS Coach and select the Coaches Settings option.
The settings are divided into several tabs. This may seem like there is a lot to go through, but that’s not the case in the free version. You see, only the first tab is customizable unless you upgrade.
The rest of the tabs are exclusive to the Pro version; thus, we will not cover them in great detail.
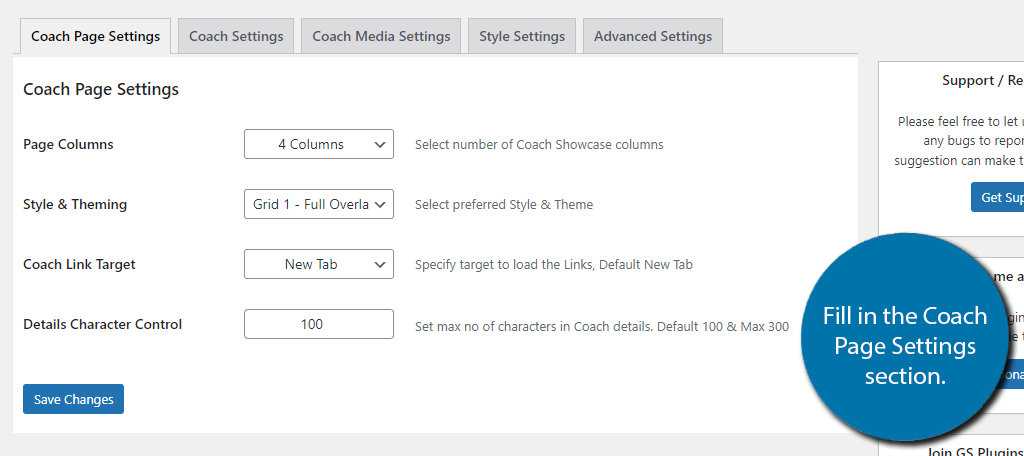
The first tab is the Coach Page Settings. Here, you can configure the number of columns to display coaches in, pick the style and theme of the display, if you want the coach links to open a new tab or on the same window when clicked, and the character limit.
Note: Sadly, you can’t actually see what the style and theme look like here, so you may want to make that choice once you have a coach filled in.
Next is the Coache Settings tab. These settings are only available in the Pro version, they mainly consist of toggling additional information that can appear in the display.
This is followed by the Coach Media Settings. Again, this section is exclusive to the Pro version, it’s main focus is toggling what social media platforms are visible in the coach display.
Lastly is the Style Settings tab. Another exclusive tab for the Pro version that consists of style options like font color, font size, alignment, and much more. There is also an Advanced Setting tab. It is pro-exclusive and just controls the coach slug.
Step 3: Add A Coach
Now it is time to actually add a coach to the plugin. This is pretty easy and just consists of adding an image and filling out the necessary fields. This plugin uses the classic editor as the foundation but don’t worry, it is rather intuitive.
With that said, you’ll pretty much be using the editor to write some text, so there’s not much to it.
At the top is a title section, enter the name of the coach.
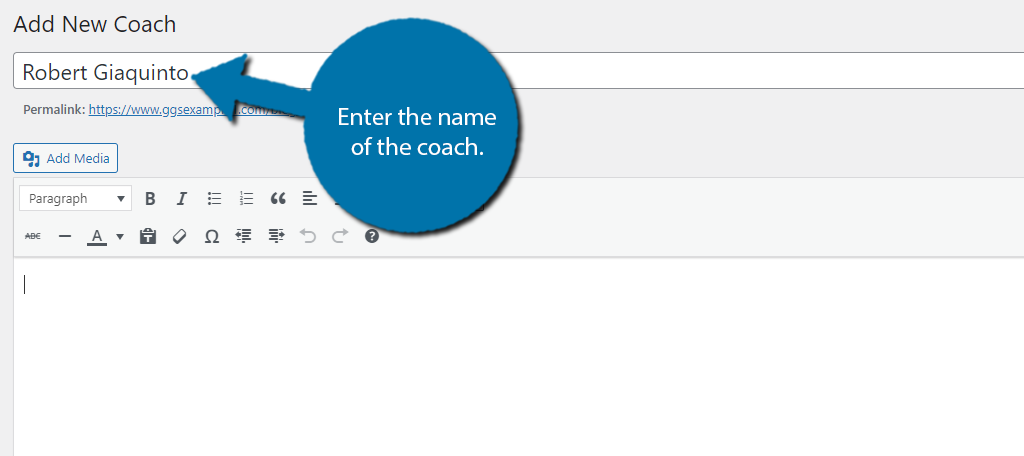
In the text editor, you can enter a description of the coach. This should be a short, but informative description of yourself and your coaching style. If you remember the settings section from the previous step, there was a character limit.
The default is 100 while the max is 300 characters. Be sure that your description matches the length you specified in that step.
Underneath the text editor is the Coach’s Additional Info section.
Here you can add links to their social media accounts, or their personal website.
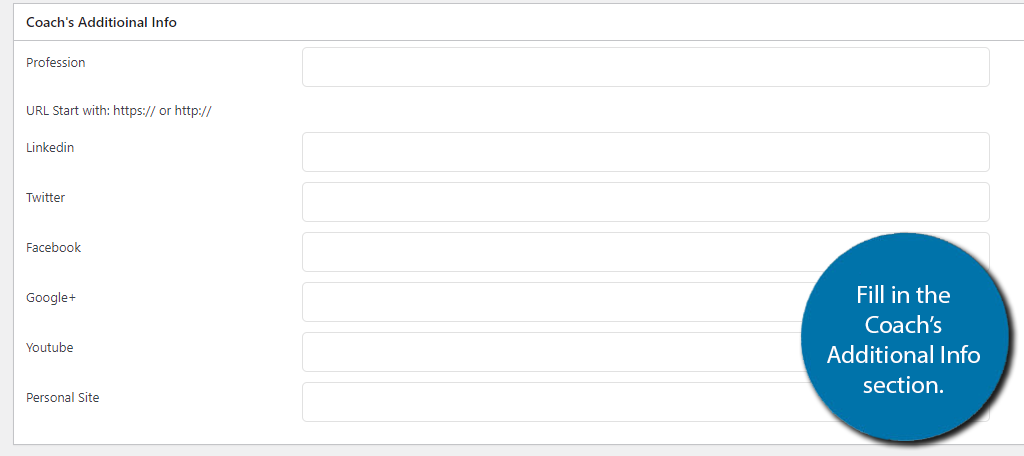
You can also opt to leave any field blank and it will not appear in the display. Below is a list of Pro features. We can ignore this for now as we’re using the Free version. Instead, let’s go ahead and add an image for our coach.
This is done by setting it as the featured image. Click on the Set Featured Image option.
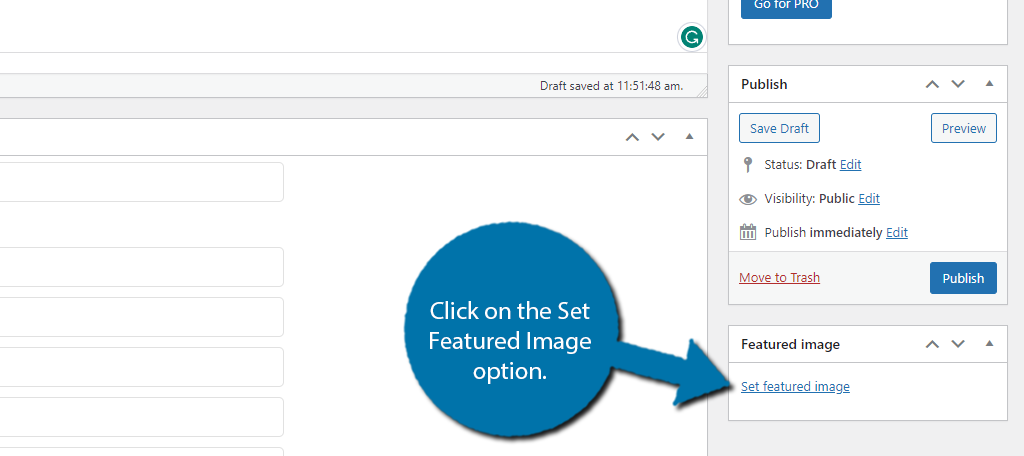
Here, you can choose an image from your media library. The image should help create a positive impression of the coach. This can be as simple as a smiling picture, or it could be showing off how the particular coach’s fitness
The bottom line is that you want an image that somewhat matches your life coaching website.
And that really covers what you can do with the free version. Double-check that all of the information you entered is correct and click the “Publish” button to add it to the coach library. You can repeat this step to add more coaches if necessary.
Step 4: Displaying Your Coach
Now that you have a coach added to the plugin, all that is left is to actually display them in WordPress. I said at the start that this is done through shortcodes, thus, it’s just a matter of adding the shortcode to the desired location.
The default Shortcode looks like this:
[gs_coaches theme="gs_coach_grid_1"]
This shortcode can be modified and you can find the full details about it from the official plugin’s page. From here, just go to any post, page, or widget area, add a shortcode block, and paste the shortcode into it.
Save the changes and you can see the coaches displayed on your website like so:
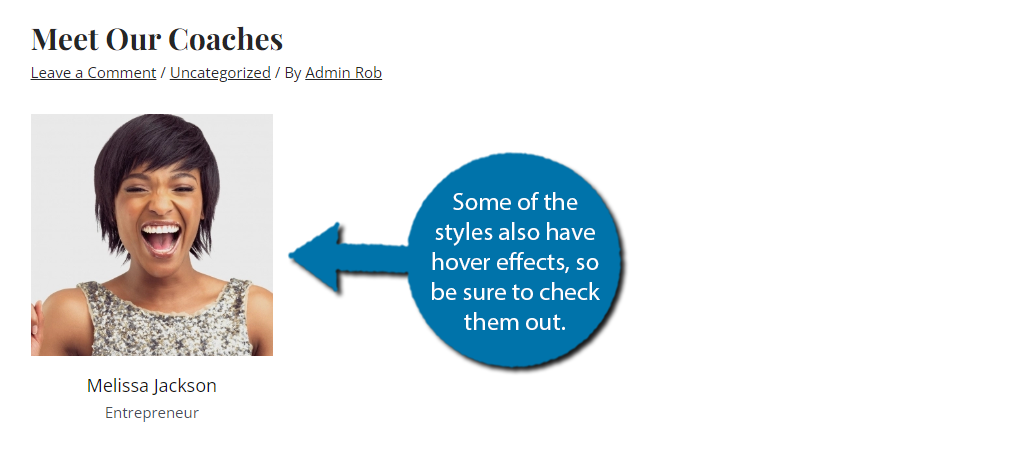
Remember that this plugin has several styles and layout options to choose from, and even more when you upgrade to the Pro version. Be sure to test them out to find the right one for your site.
And with that, we have covered everything you can do with the free version of GS Coaches. Congratulations on learning how to display your coaches in WordPress.
What Else Should a Life Coach Site Include?
While the coaches themselves should be the focal point of such a website, there is another core component that will help bring in new clientele. And that would be testimonials.
The coach is only half of the story, and no matter how impressive your resume is, the truth is that users want to see success stories from your previous clients. Thus, having your clients tell others about their experience is a huge selling point.
As such, testimonials are the perfect inclusion for any website that needs to show off customer relations. For those unaware, these are essentially customer reviews that you can post on your website.
They usually include a short description of their experience, perhaps a star rating, and maybe even a picture of the client. The more realistic the review appears, the better.
You may be questioning why the face is so important, but I assure you it is critical for testimonials. Without a face, anyone could just write a review, which can make users skeptical. While a face doesn’t necessarily mean a review is real, it does help.
Project You Image Today with GS Coaches
As you can see, the GS Coaches plugin is pretty simple to use and features a wide range of customization options to choose from. It is the perfect choice if you are planning to build a life coach website.
Of course, it is only one component. Be sure to find a reliable web hosting company, choose a great theme, and create a stunning website to attract customers. Remember, you can build anything in WordPress.
How easy did you find the GS Coaches plugin? Do you use a different personal coaching plugin for WordPress?